How to Start a WordPress Website: Beginner’s Step-by-Step Guide
Learn how to start a website using WordPress step by step—even if you’ve never built a website before. Perfect for beginners, quick and easy!

Building your own website can seem intimidating at first. However, with WordPress, even complete beginners can create a professional, fully functional website in just a few hours.
In this guide, I’ll walk you through every step—right from choosing a domain and hosting to installing WordPress, customizing your site, launching it live, and promoting it effectively.
Note: This post contains affiliate links. If you sign up for the services using these links, I may earn a commission at no extra cost to you.
Why WordPress is the Best Choice for Beginners
Wordpress powers over 45% of websites worldwide, making it the most popular website platform. It’s flexible, SEO-friendly, and beginner-friendly.
You will also need a web host where WordPress installation will be done. Bluehost, officially recommended by WordPress.org, is ideal for newcomers because it offers:
- One-click WordPress installation – no technical skills needed
- Free domain for the first year
- 24/7 customer support – live chat, phone, and email
- Affordable hosting plans – scalable as your site grows
- Reliable performance – fast servers and consistent uptime
However, if you are still choosing hosting, check my guide how to choose a web host
Using Bluehost with WordPress simplifies the process of getting your website online quickly and securely.
Step 1: Choose a Domain Name
Your domain name is your website’s address on the internet (e.g., yourwebsite.com). It’s a critical part of branding, SEO, and first impressions.
Tips for choosing a domain:
- Keep it short, memorable, and easy to spell
- Avoid numbers, hyphens, and special characters
- Include a keyword relevant to your niche if possible
- Check social media handle availability to match your brand
You can check for domain name availability on NameCheap or Godaddy.
Pro tip: Bluehost offers a free domain for the first year when you sign up for hosting, making it easy to get started.
Step 2: Choose a Bluehost Hosting Plan
Hosting is where your website “lives” online. Bluehost offers several beginner-friendly plans:
However, since you are just starting out, you will be fine with their Starter plan.
Tip: Selecting the 36 month plan provides the best value. Also, since renewal price is high, it’s better to lock in the promo price for 3 years.
Step 3: Sign Up for Bluehost and Install WordPress
Getting started with WordPress on Bluehost is easy:
- Go to Bluehost and choose a plan
- Enter your domain name or select a free domain
- Complete account information and payment
- Click Create Account
- Bluehost can automatically install WordPress for you, if you chose this option.
Within minutes, your WordPress website is live and ready for customization.
Step 4: Access the WordPress Dashboard
The WordPress dashboard is where you control your website. Access it via yourdomain.com/wp-admin and log in with the credentials you set during installation.
From the dashboard, you can:
- Add and edit pages
- Install themes and plugins
- Customize your site’s appearance
- Create blog posts and manage media
Pro tip: Spend some time familiarizing yourself with the dashboard—it’s intuitive and beginner-friendly.
Step 5: Choose a Theme and Customize Your Website
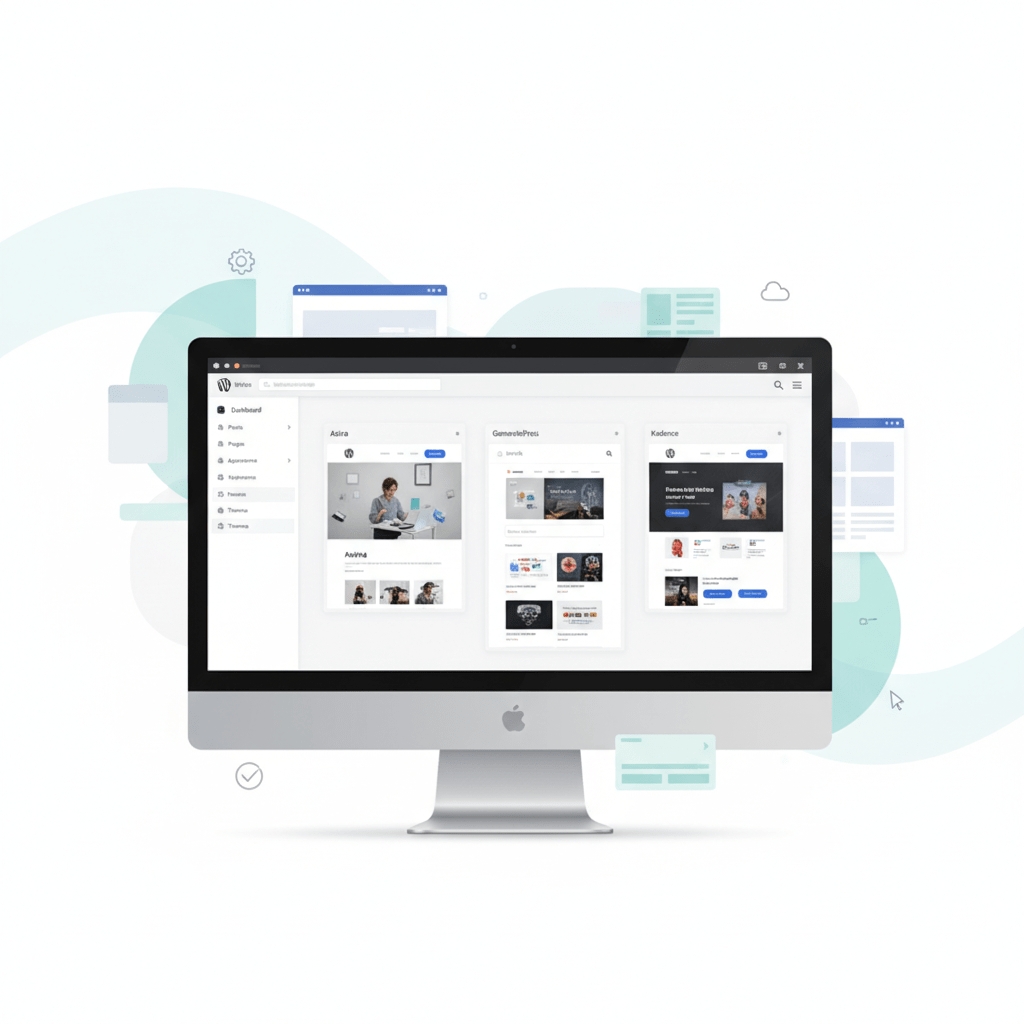
Your theme determines the look and feel of your website. WordPress has thousands of themes available from third party, both free as well as paid. Below listed are few themes that you can consider.
Recommended WordPress Themes for Beginners:
- Astra: Lightweight, fast, and highly customizable
- GeneratePress: Clean design and optimized for speed
- OceanWP: Flexible and beginner-friendly
How to customize your WordPress theme:
- Use
Appearance → Customizeto adjust colors, fonts, and layout - Upload your logo and header image
- Ensure your site is mobile-friendly
- Use widgets and menus to organize navigation
Pro tip: Start simple. A clean, well-organized site will always outperform a cluttered design.
Step 6: Create Important Pages
Every website should include key pages:
- Home Page: Overview of your site and offerings
- About Page: Your story, mission, and expertise
- Contact Page: Form, email, or social links for visitors to reach you
- Blog Page: Share content to drive traffic and improve SEO
- Optional: Portfolio, services, or resources depending on your niche
Internal linking between pages improves SEO and keeps visitors engaged.
Step 7: Install Essential Plugins
Plugins extend WordPress functionality. Essential plugins for beginners include:
- SEO: Yoast SEO or RankMath
- Performance: WP Rocket or W3 Total Cache
- Security: Wordfence or Sucuri
- Contact Forms: WPForms or Contact Form 7
- Backups: UpdraftPlus
Pro tip: Only install necessary plugins to avoid slowing down your website.
Step 8: Add Content to Your Website
Once above steps are done, then comes the part of adding content to your website. While adding content, keep in mind the following points:
- Write clear, valuable blog posts with relevant keywords
- Include images, videos, and graphics to enhance engagement
- Structure content with headings (H1, H2, H3) and lists for readability
- Use internal linking to your calculators or related articles
Step 9: Optimize Your WordPress Site for SEO
Search engine optimization (SEO) helps your site rank in Google. Key beginner tips:
- Use clean, descriptive URLs (
Settings → Permalinks → Post name) - Optimize images with proper filenames and alt text
- Use headings and subheadings for structure
- Install an SEO plugin to manage meta titles, descriptions, and sitemaps
SEO is a long-term strategy. Consistency is key—focus on high-quality content first.
Step 10: Launch Your WordPress Website
Before launching, make sure:
- All pages load correctly and links work
- Your site looks good on both desktop and mobile
- Forms and email integrations are functional
- You remove any “Coming Soon” page
Once ready, announce your launch via social media, email, or a blog post.
Celebrate your first live WordPress website—it’s a huge milestone!
Step 11: Promote Your Website
Driving traffic is crucial for growth. Beginner-friendly promotion strategies:
- Blogging: Write helpful posts targeting your niche
- Social Media: Share content on Instagram, LinkedIn, TikTok, or Facebook
- Email Marketing: Start building a mailing list early
- Guest Posting / Backlinks: Contribute to other sites to drive referral traffic
Step 12: Monitor Performance and Improve
Track your website’s performance to make data-driven improvements:
- Google Analytics: Monitor visitors, traffic sources, and behavior
- WordPress Plugins: Track page views, popular posts, and engagement
- Adjust content: Optimize high-performing pages and update underperforming ones
Continuous improvement is key—your website will grow with consistent effort.
Frequently Asked Questions (FAQ)
1. Do I need coding skills to start a WordPress website?
No. Bluehost and WordPress make it beginner-friendly with one-click installation and visual customization.
2. Can I create a blog and website at the same time?
Yes. WordPress supports multiple pages, blogs, and media on the same site.
3. How long does it take to launch a site?
You can technically launch in a weekend, though traffic and monetization take time to grow.
4. Can I sell products on WordPress?
Yes! WordPress integrates with WooCommerce for online stores.
5. Is Bluehost secure and reliable for beginners?
Yes. Bluehost provides SSL certificates, daily backups, and 24/7 support to ensure your site is safe and stable.
Final Thoughts
Starting a WordPress website on Bluehost is fast, affordable, and beginner-friendly. By following this step-by-step guide, you can launch a professional website without technical knowledge.
Your website will serve as the foundation for blogging, personal projects, or even future online stores.
👉 Start your WordPress website today: Sign up with Bluehost


